5.3.2. Git branches
We learnt about version control using Git back in Lab A. Since then, you’ve been using Git to submit your assignments, and you’ve been regularly checking in your working code as you go along (you have haven’t you?), but we’ve not said much more about version control. There are lots of features and functions. We’re going to look at one of these here, known as branches.
In one repository, we can have multiple copies of the same code. These are known as branches. Each branch is version controlled separately and can be worked on separately. The default branch is usually called main. VSCode will likely be displaying that you’re working on the main branch.
Screenshot of VSCode, software from Microsoft. See course copyright statement.
Working directly in the main branch is fine for small projects. However, it doesn’t give a space for experimentation. Essentially, the code in main is your end product. Every time you update this, you’re updating the final version. If you’re fixing a bug, or adding a new feature, it can be beneficial to make a dedicated branch for this work. You can then get the code working in this branch, and only update main once everything is working. This can help compartmentalize development, and avoid breaking the main code during day-to-day working.
5.3.2.1. Making a new branch
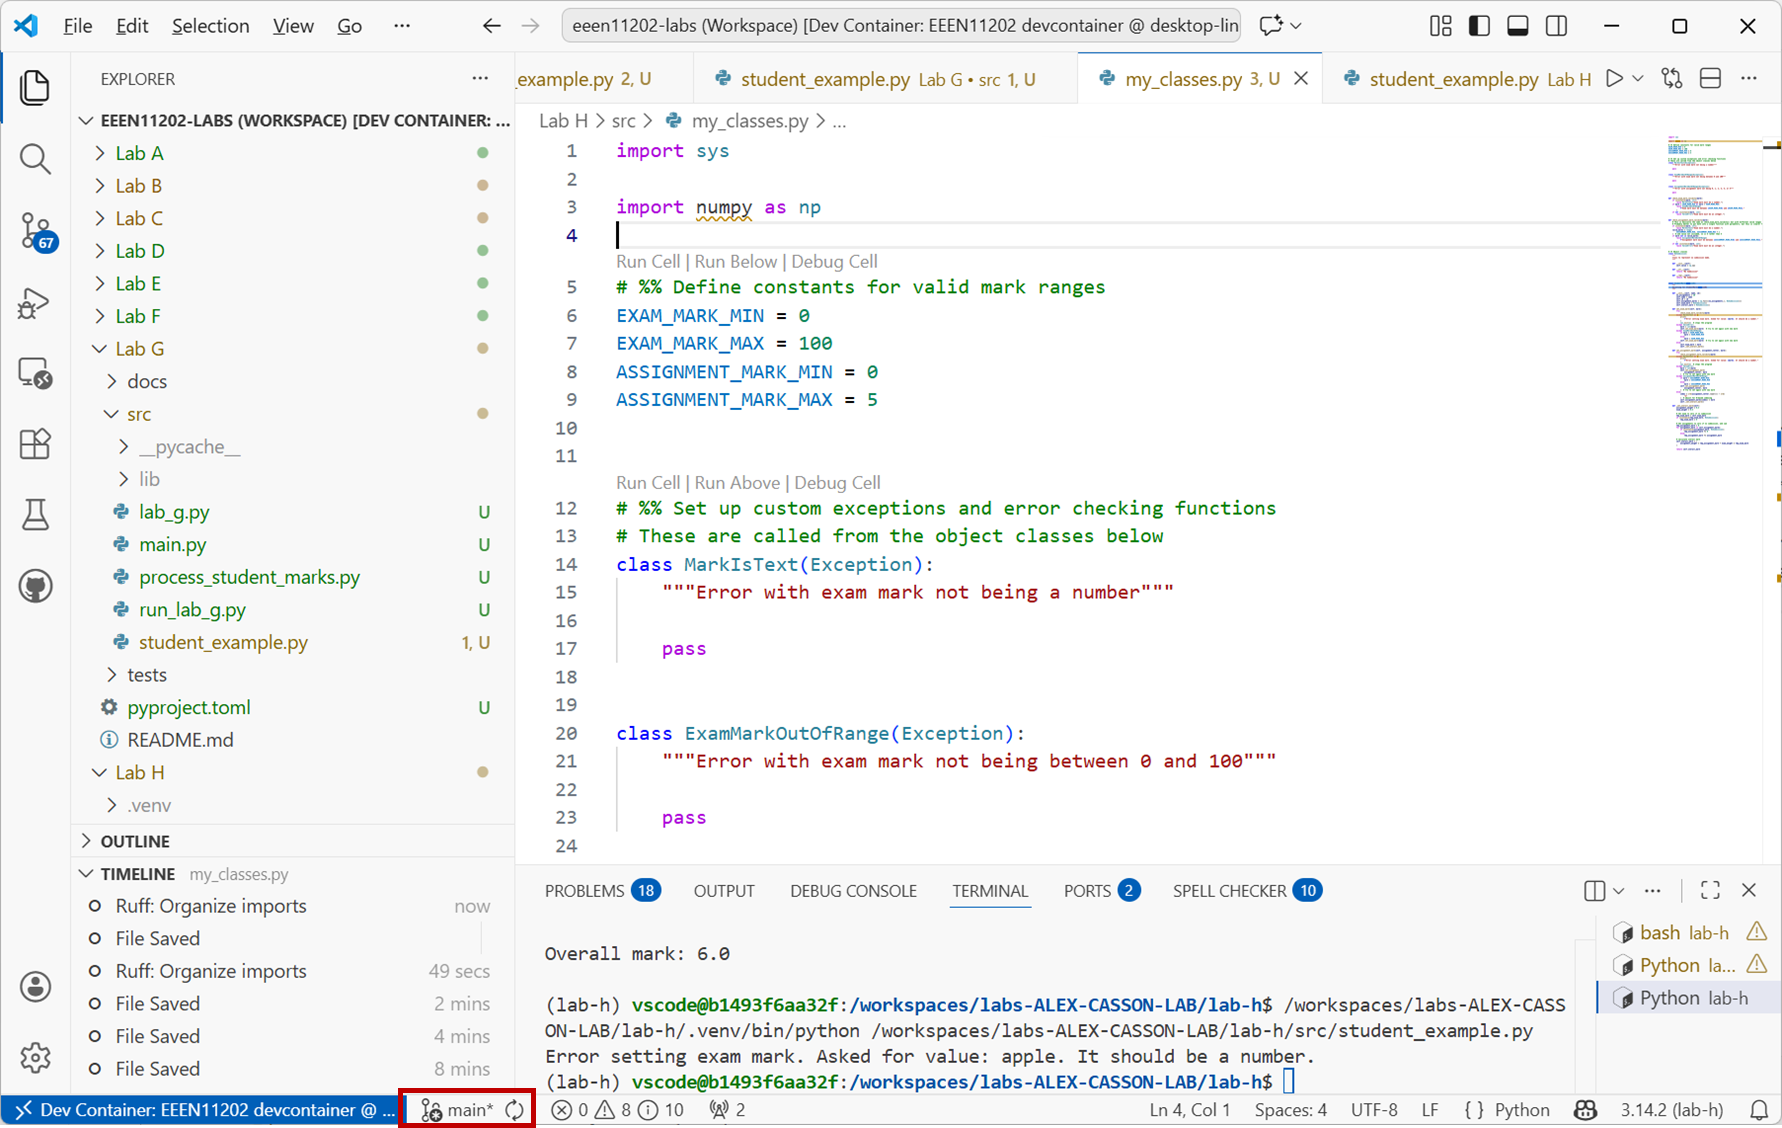
In your Lab H workspace, make a new branch called
dev:Click on
mainin the bottom left of the VSCode window and then+ Create new branch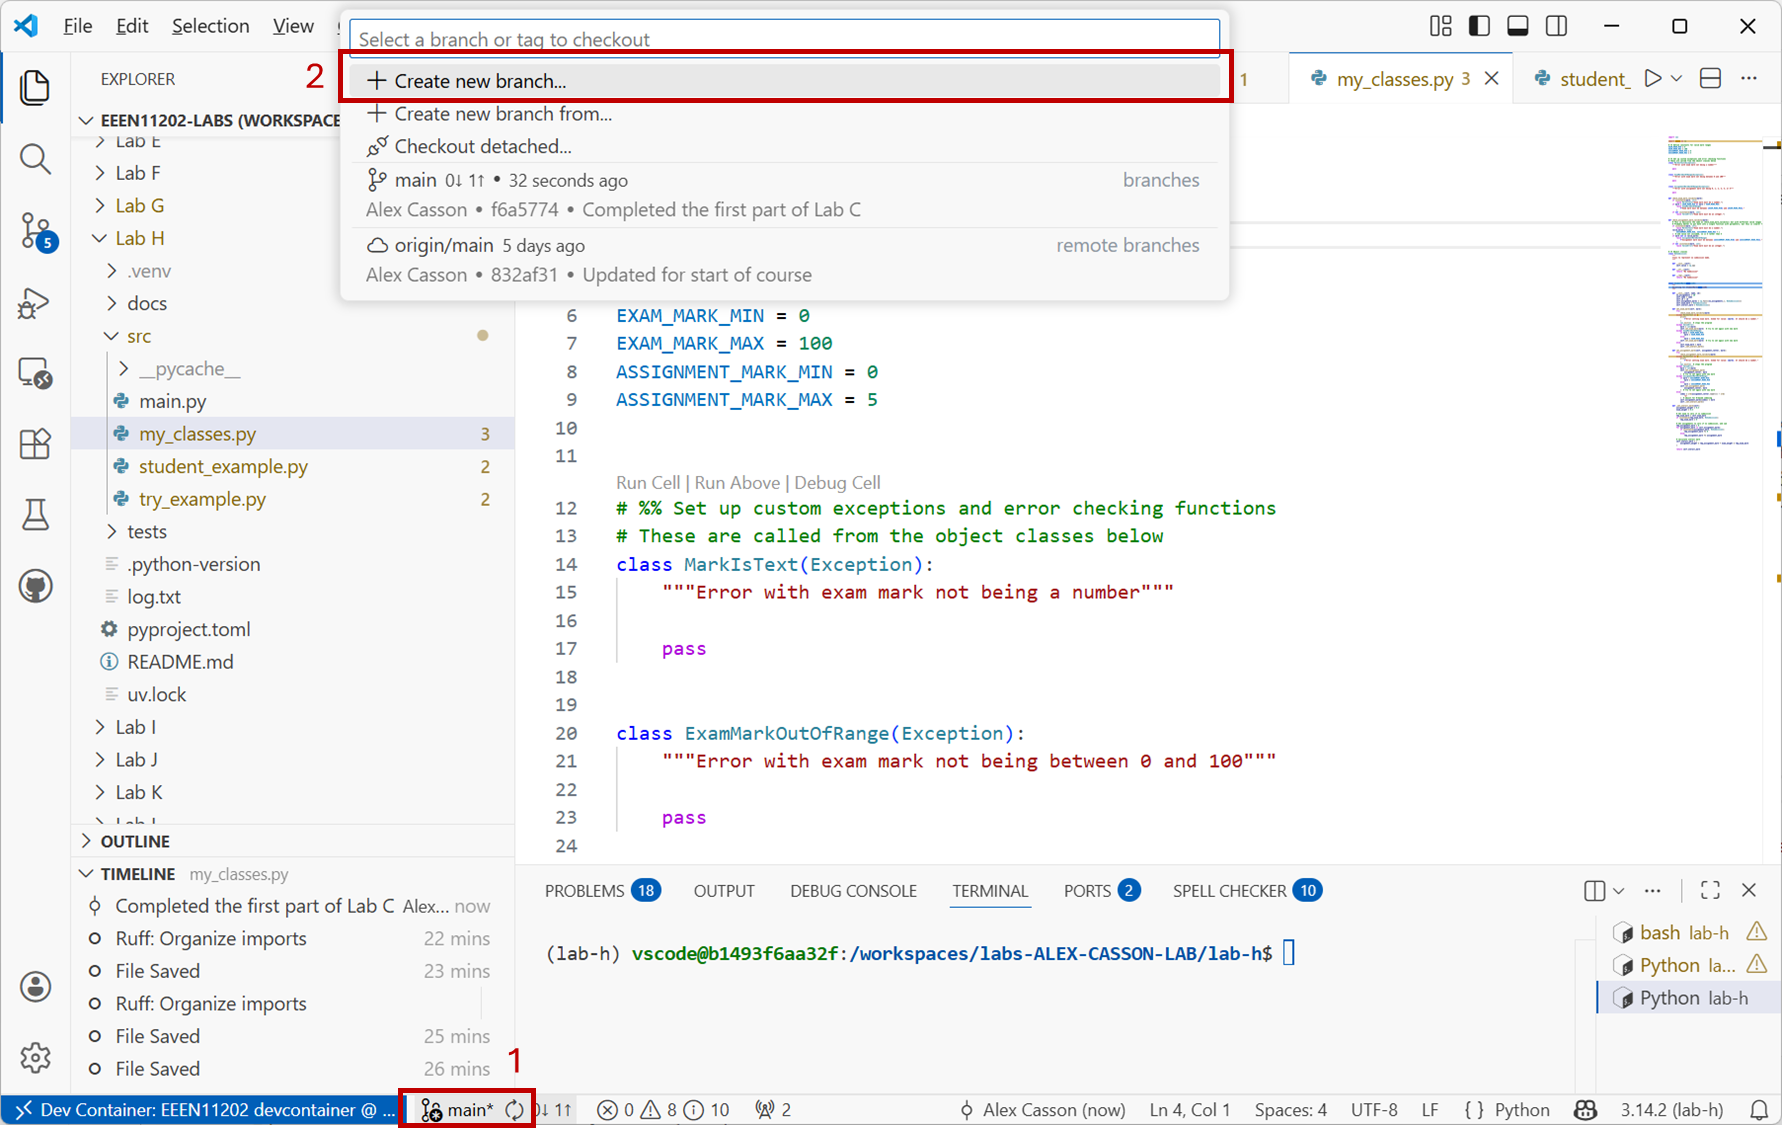
Screenshot of VSCode, software from Microsoft. See course copyright statement.
Type in
devas the branch name and press enter.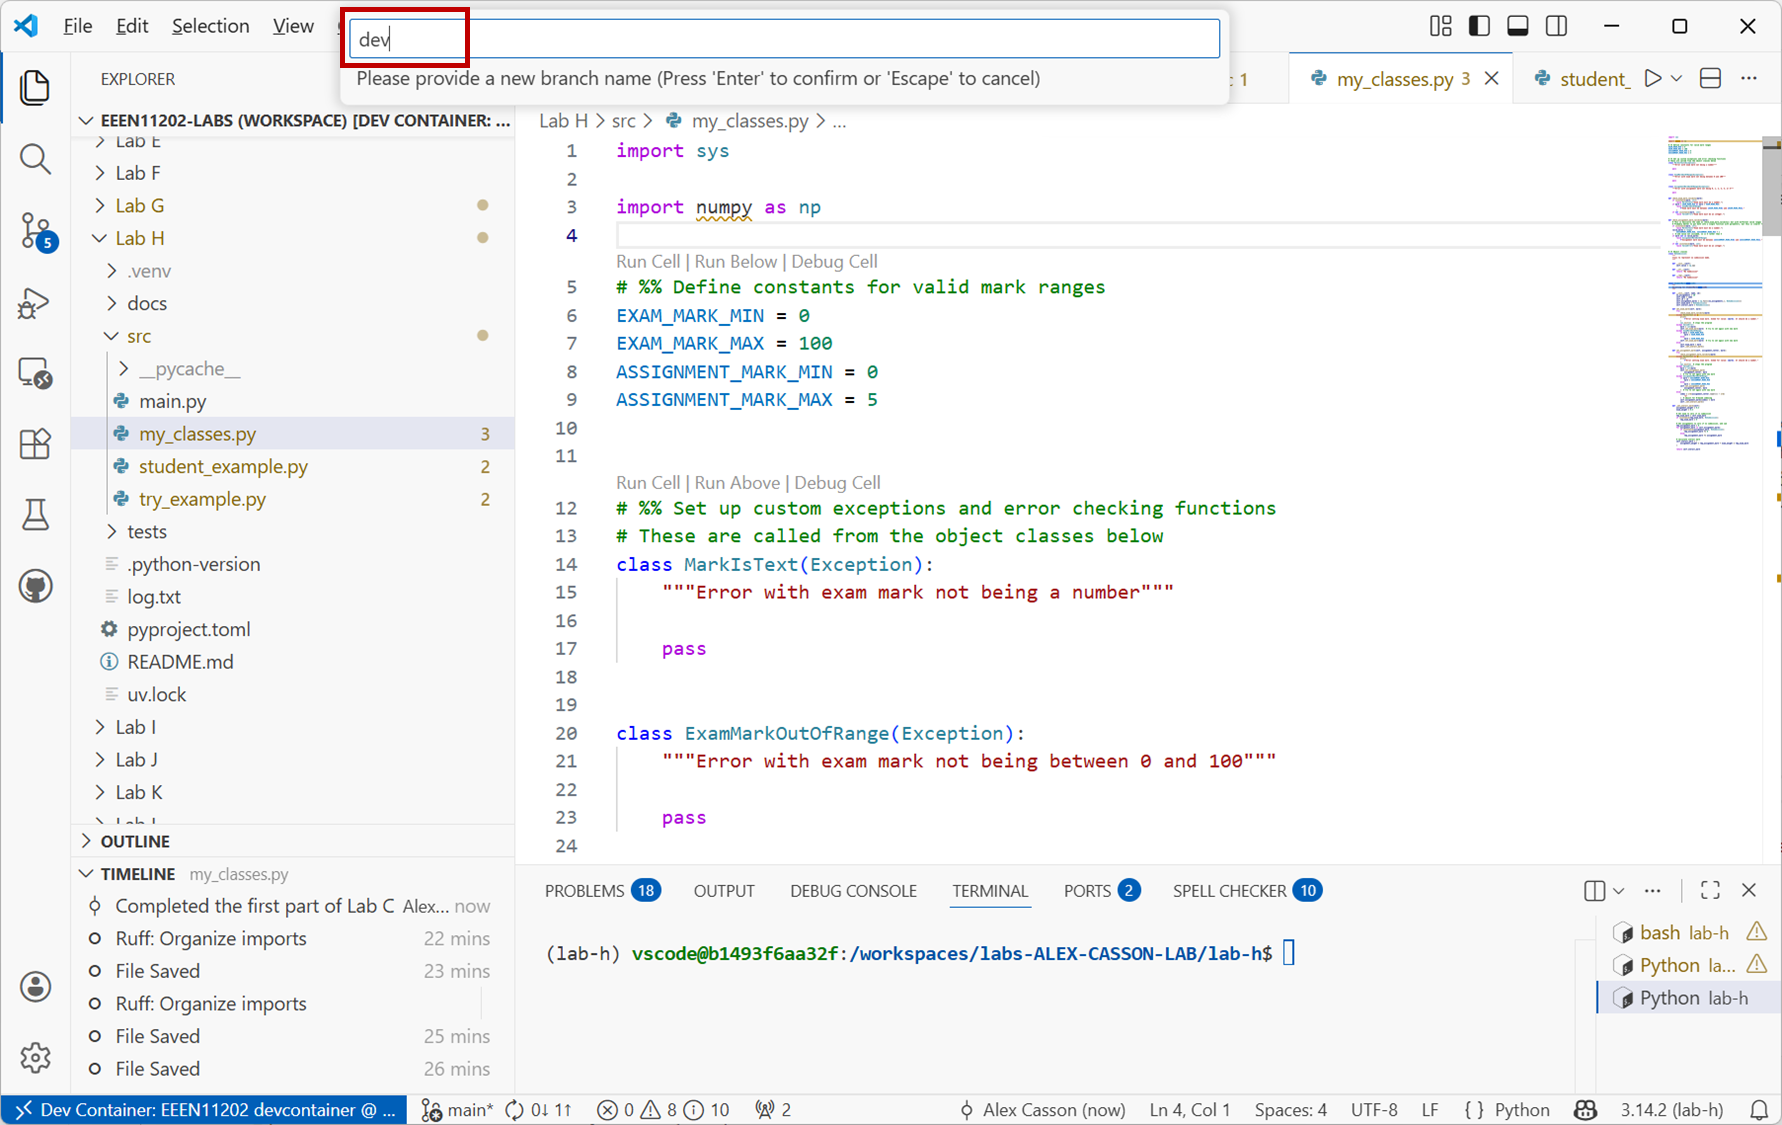
Screenshot of VSCode, software from Microsoft. See course copyright statement.
VSCode will automatically switch to the new branch once it’s created.
git branch dev
git checkout dev
The
git branch devcommand makes a new branch, based upon the current branch. Thegit checkout devcommand switches the branch. Remember that you can usegit statusto check which branch you’re on.You should see the branch name change to
devin the bottom left of the VSCode window.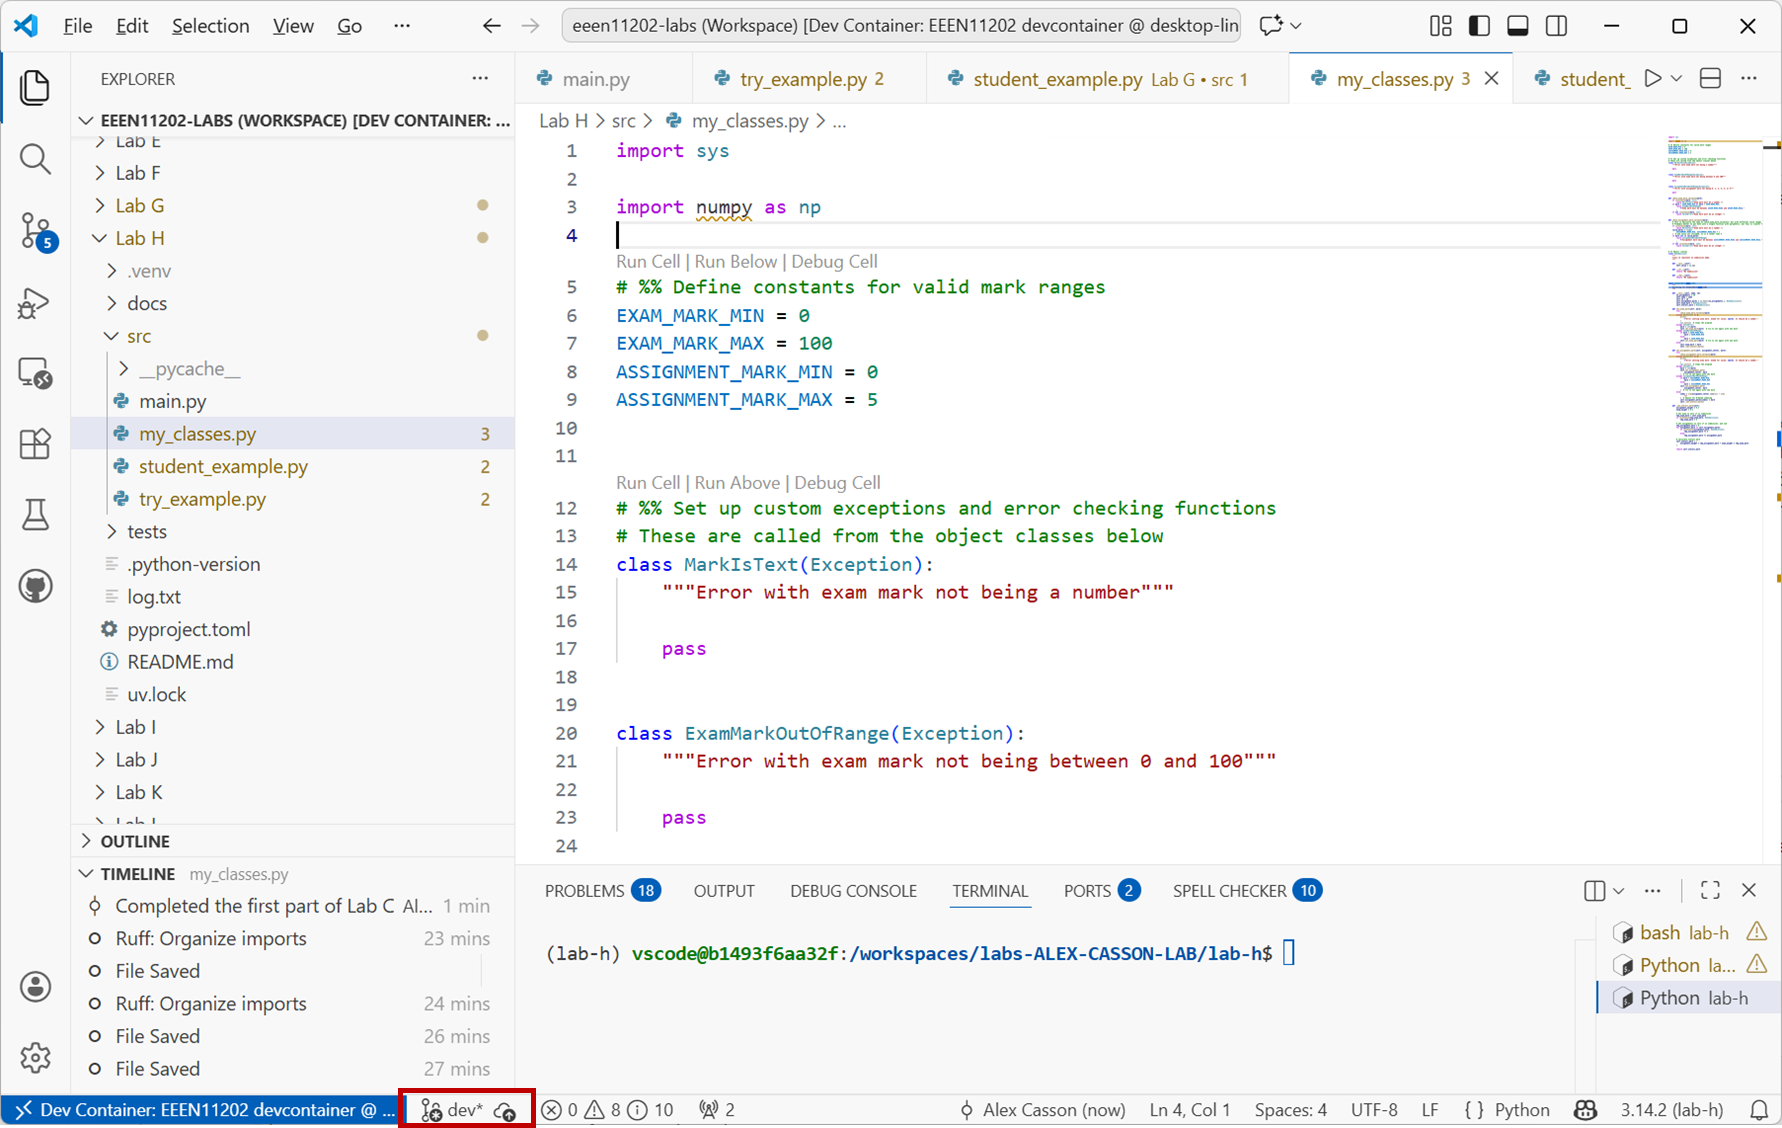
Screenshot of VSCode, software from Microsoft. See course copyright statement.
5.3.2.2. Using and switching branches
In your Lab H
srcfolder make a new file calledbranches.py. You can put some code into it, or it can be empty for now.As you’re working in the
devbranch, this file exists in the current branch,dev, as shown in the view below. (You might need to press theRefreshbutton for the display of files to be updated.)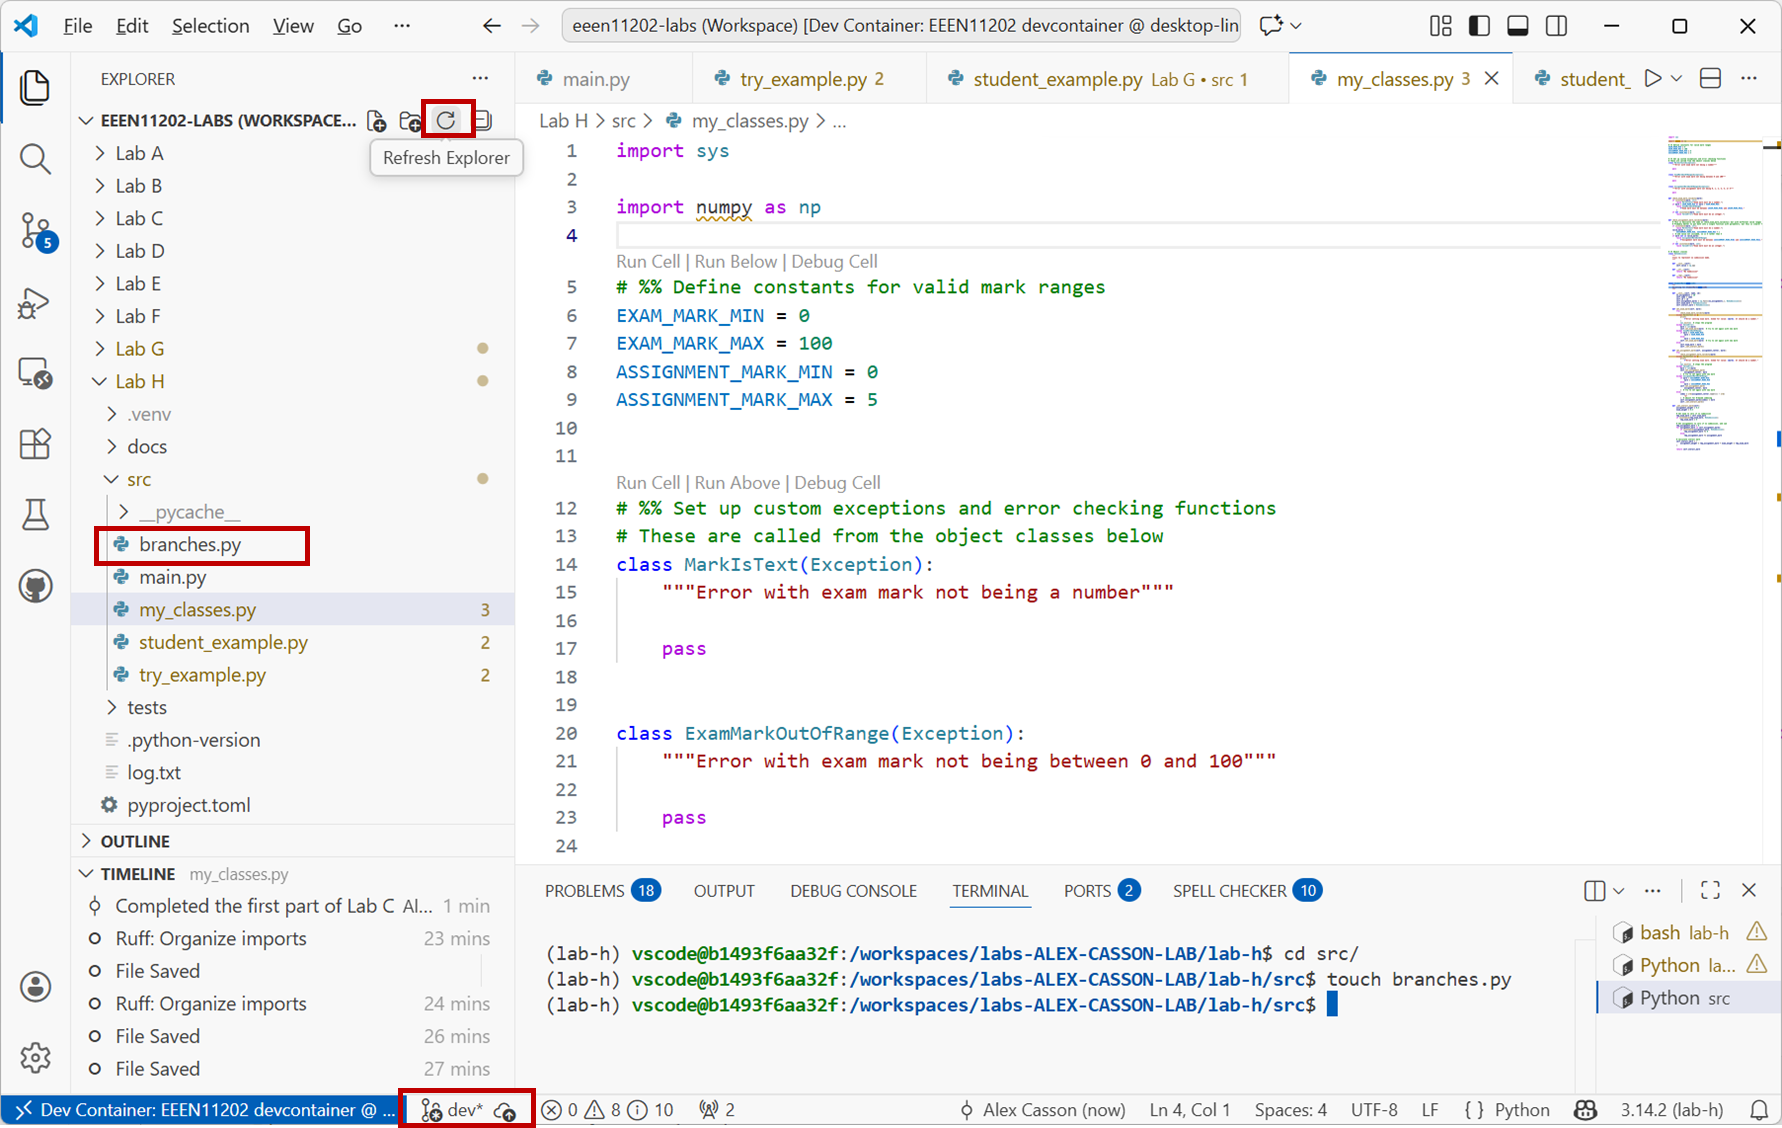
Screenshot of VSCode, software from Microsoft. See course copyright statement.
Check this new file into Git:
On the
Source Controltab, you should seebranches.pylisted as a new file. Hover over it and click the+icon to add it to be tracked. Then enter a commit message in the box at the top and click the✓ Commiticon to commit it.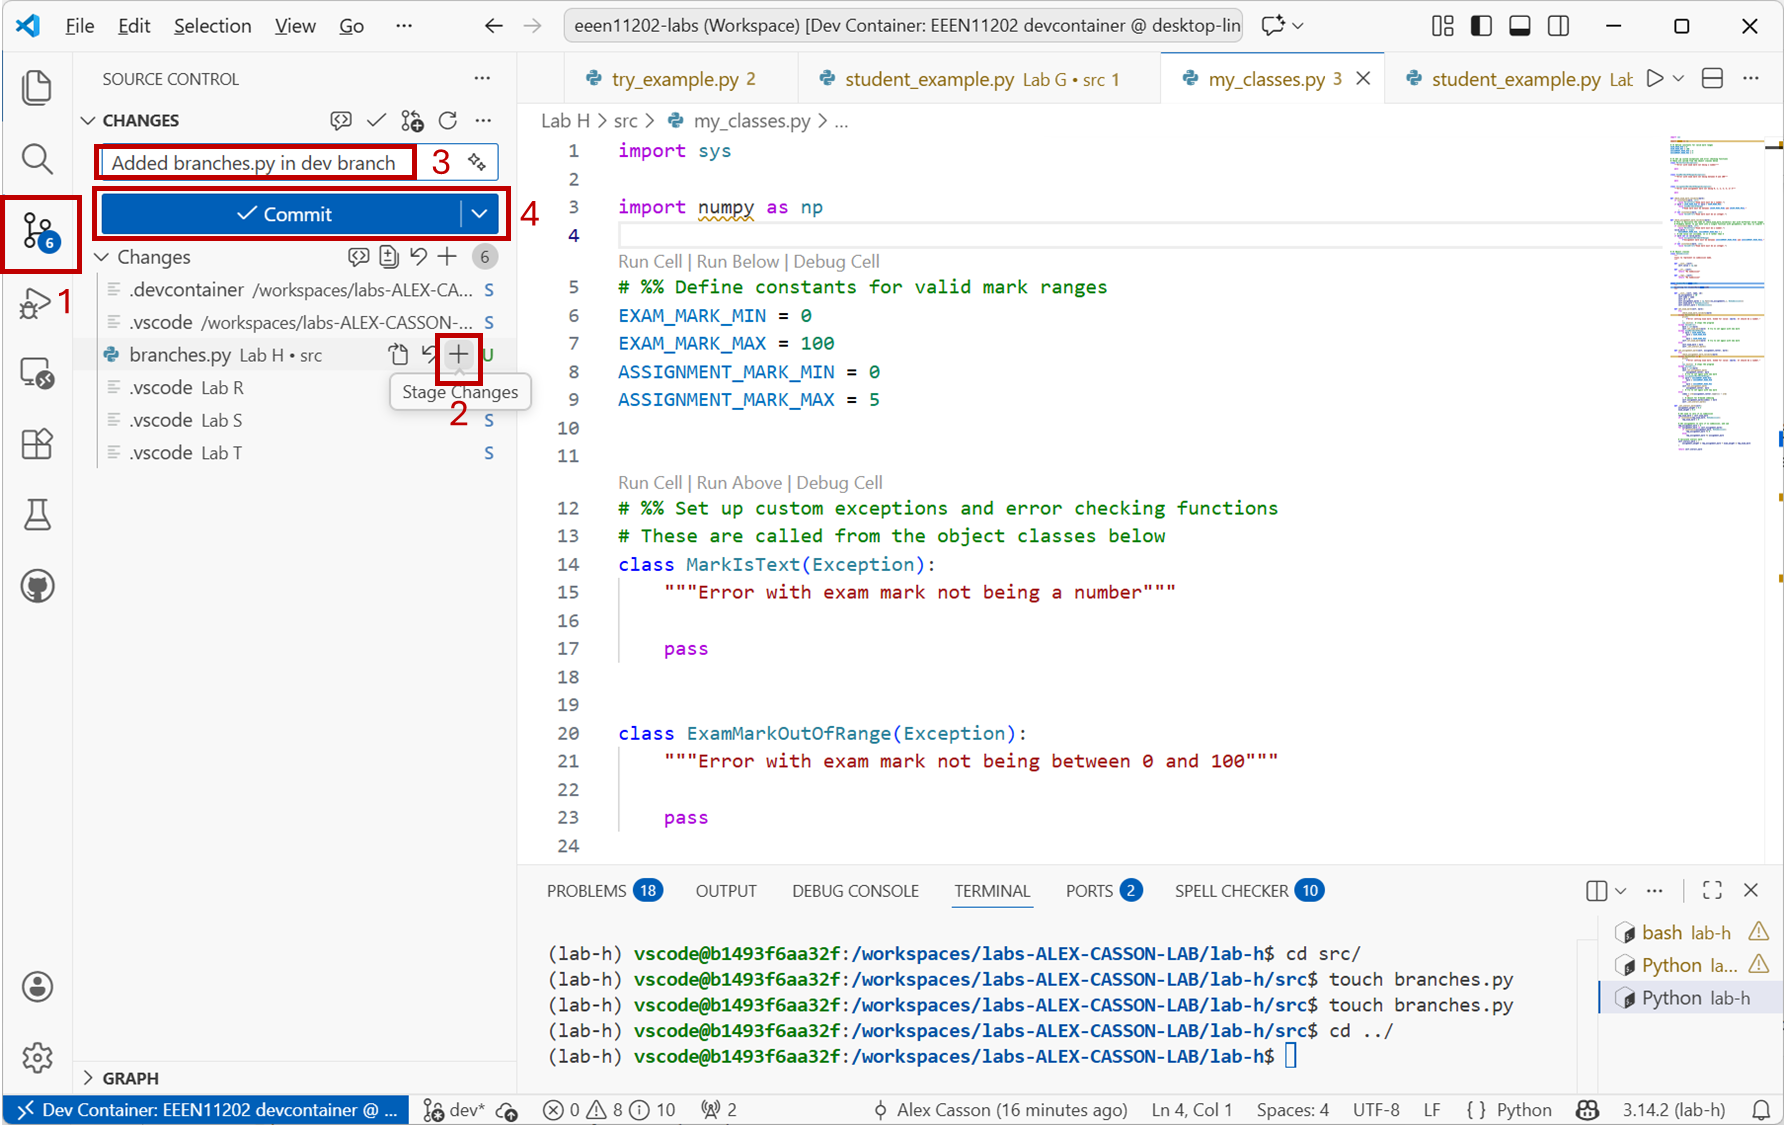
Screenshot of VSCode, software from Microsoft. See course copyright statement.
Assuming your terminal is in the
lab-hfolder (notlab-h/src) rungit add src/branches.py git commit -a -m "Added branches.py in dev branch"
Switch back to the main branch:
Click on
devin the bottom left of the VSCode window and then click on themainbranch (i.e. the branch you want to switch to).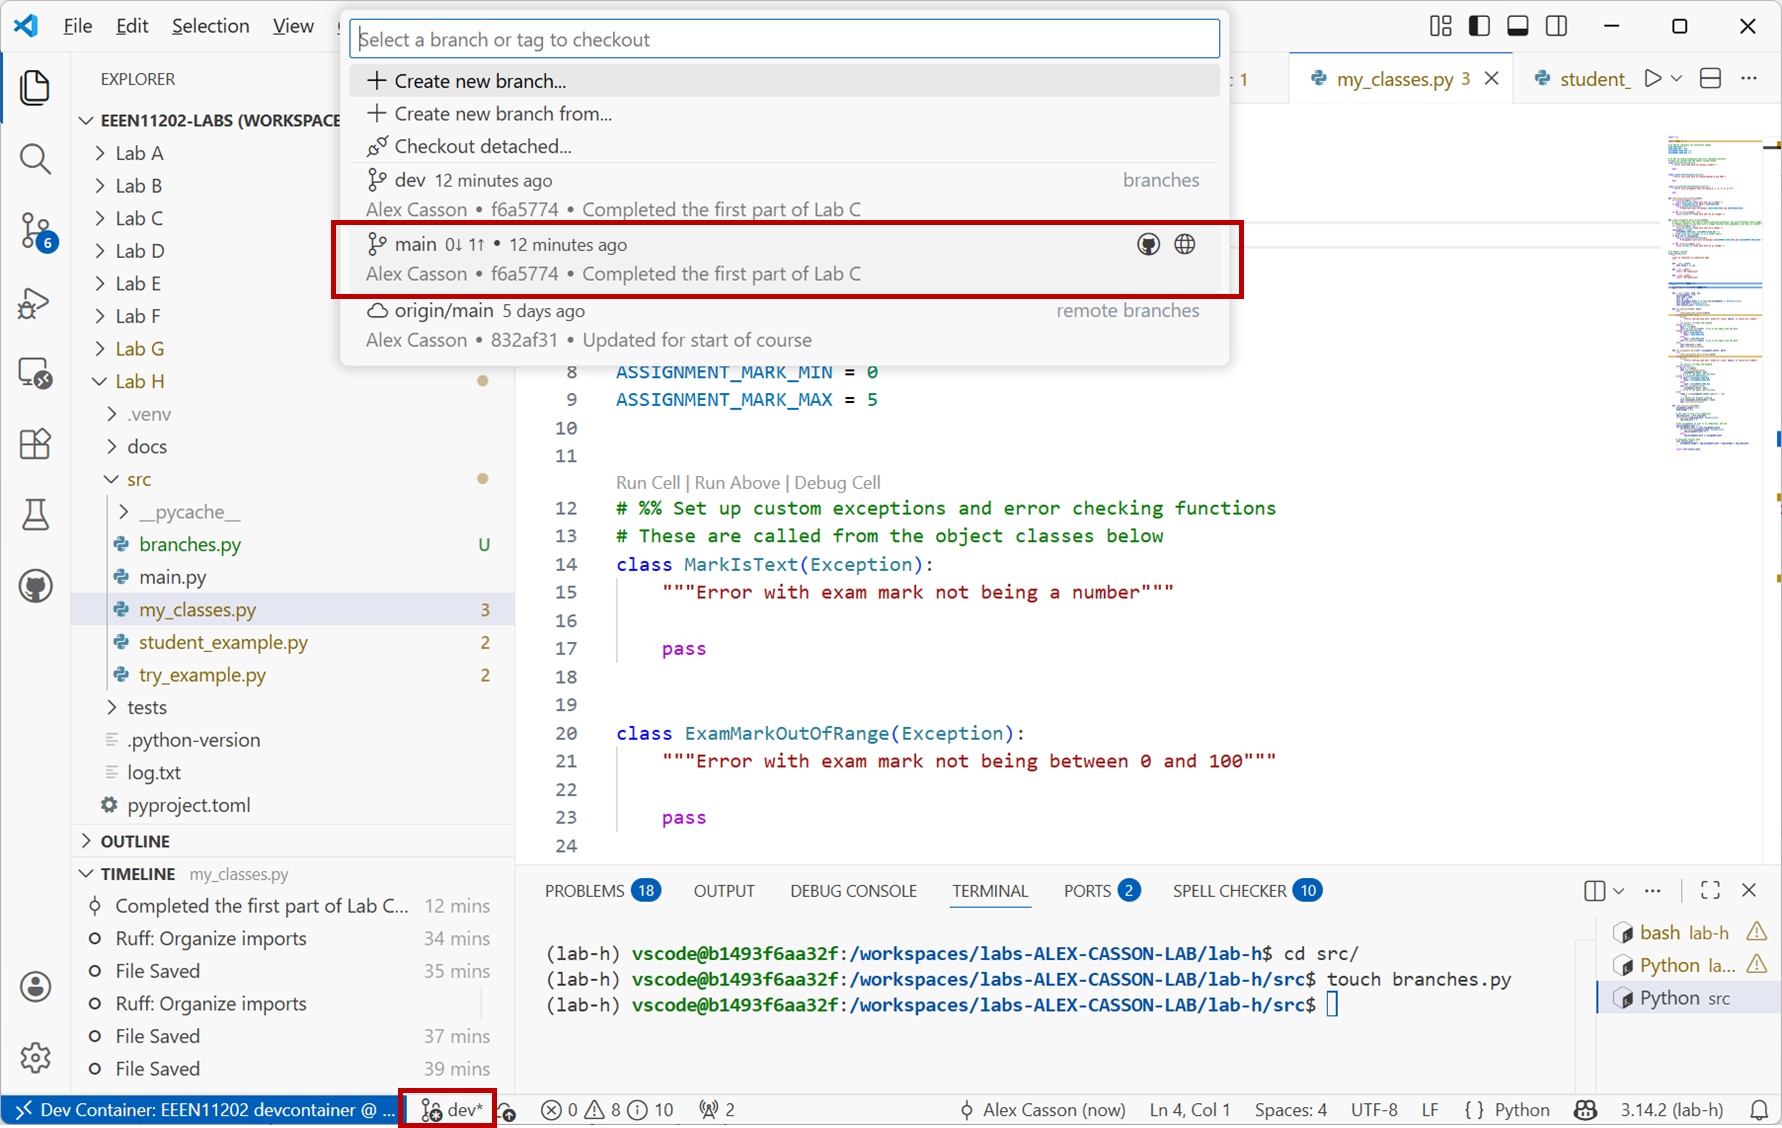
Screenshot of VSCode, software from Microsoft. See course copyright statement.
git checkout mainYou’ll see that the file
branches.pyis no longer present in the file explorer. This is because it only exists in thedevbranch. (Again you might need to press theRefreshbutton for the display of files to be updated.)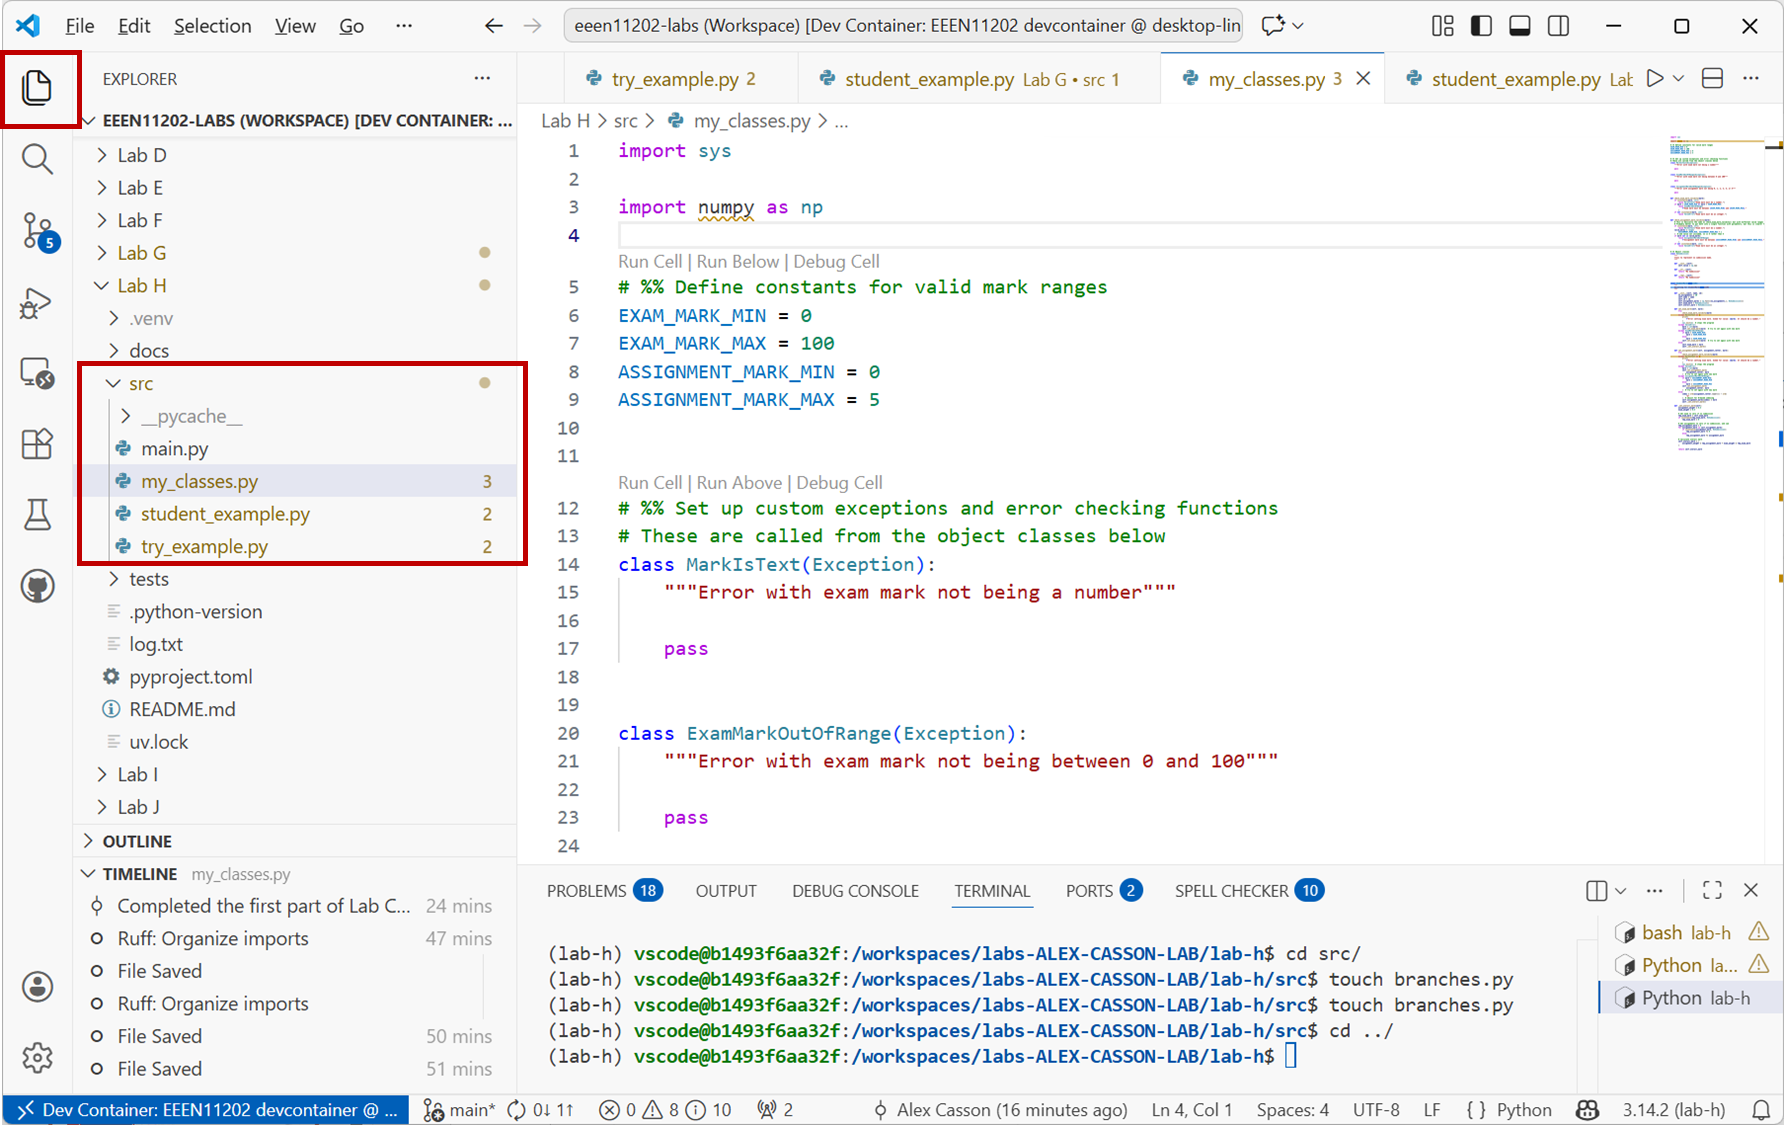
Screenshot of VSCode, software from Microsoft. See course copyright statement.
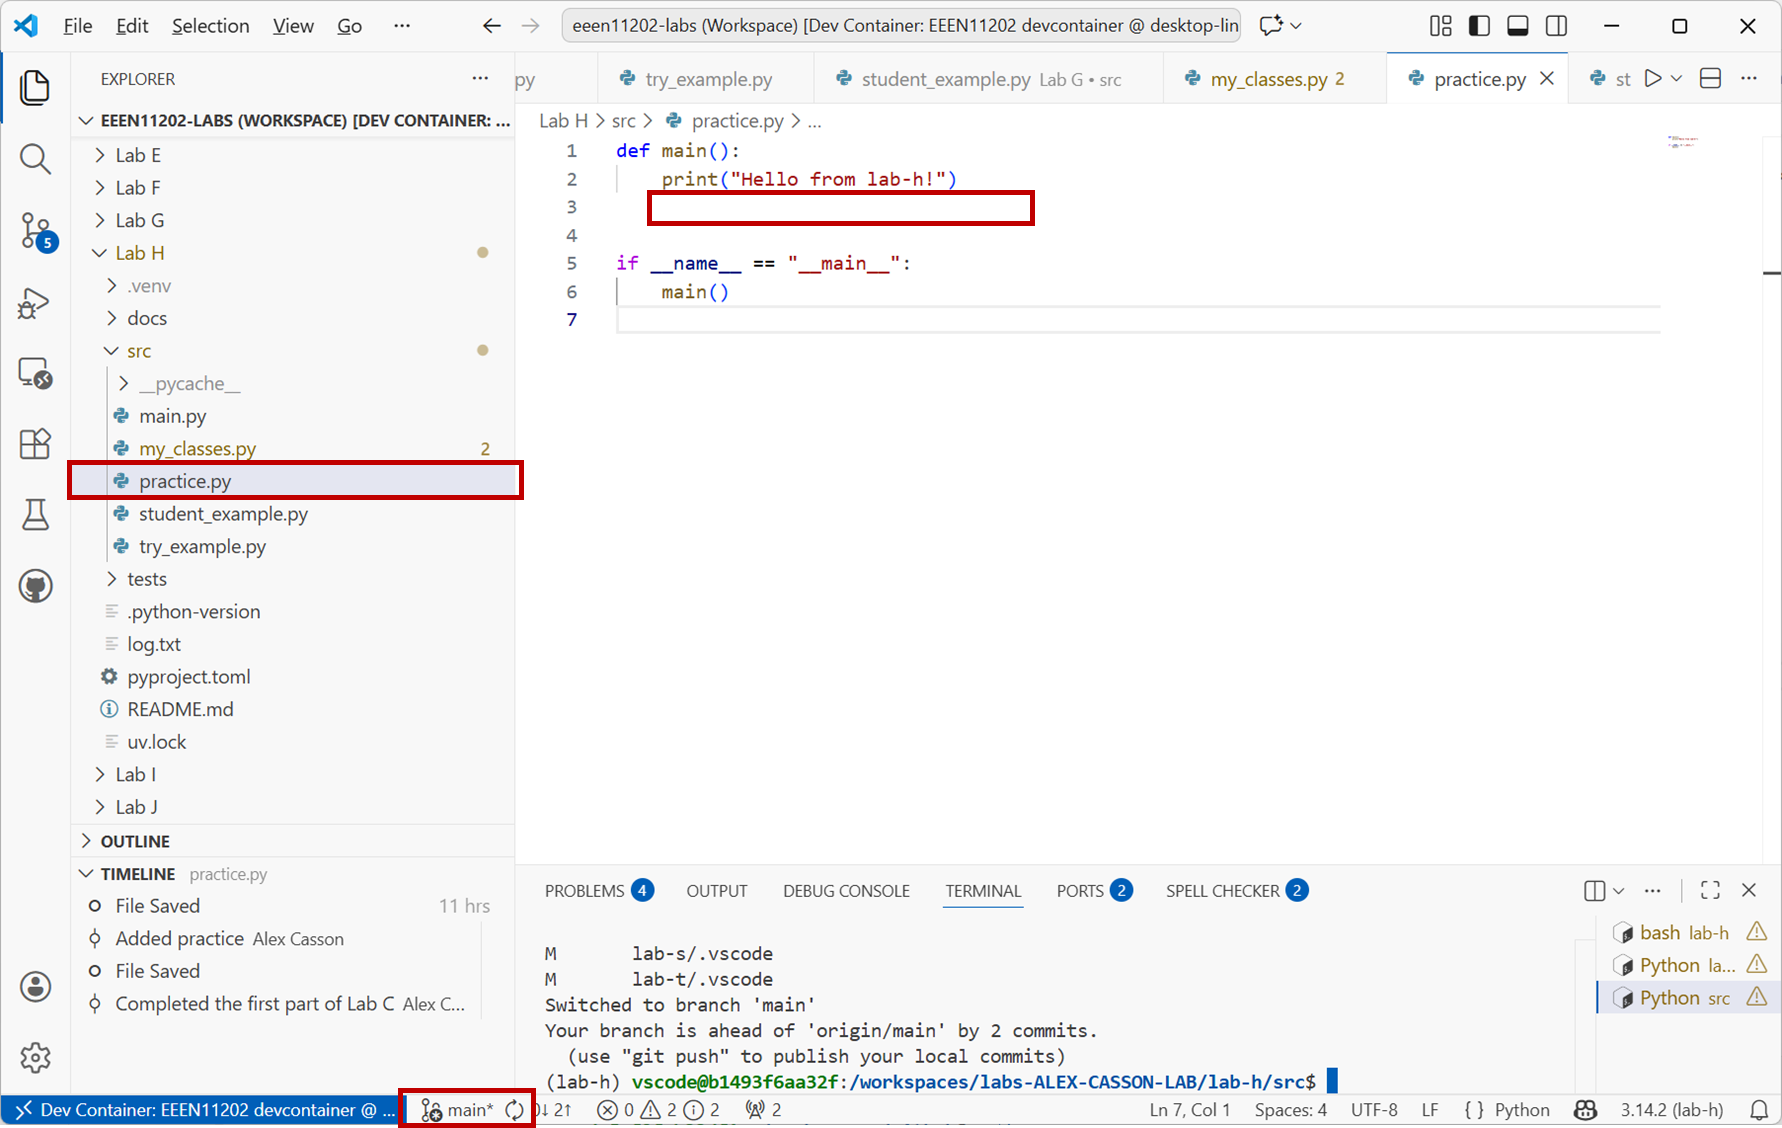
You can see how this lets us work on code in the
devbranch without affecting the code in themainbranch.Follow the steps above again to switch back to the
devbranch. You should see thatbranches.pyis back again.In your Lab H
srcfolder you will find a file calledpractice.py. When run, it displaysHello from lab-h!to the screen.Make sure you’re in the
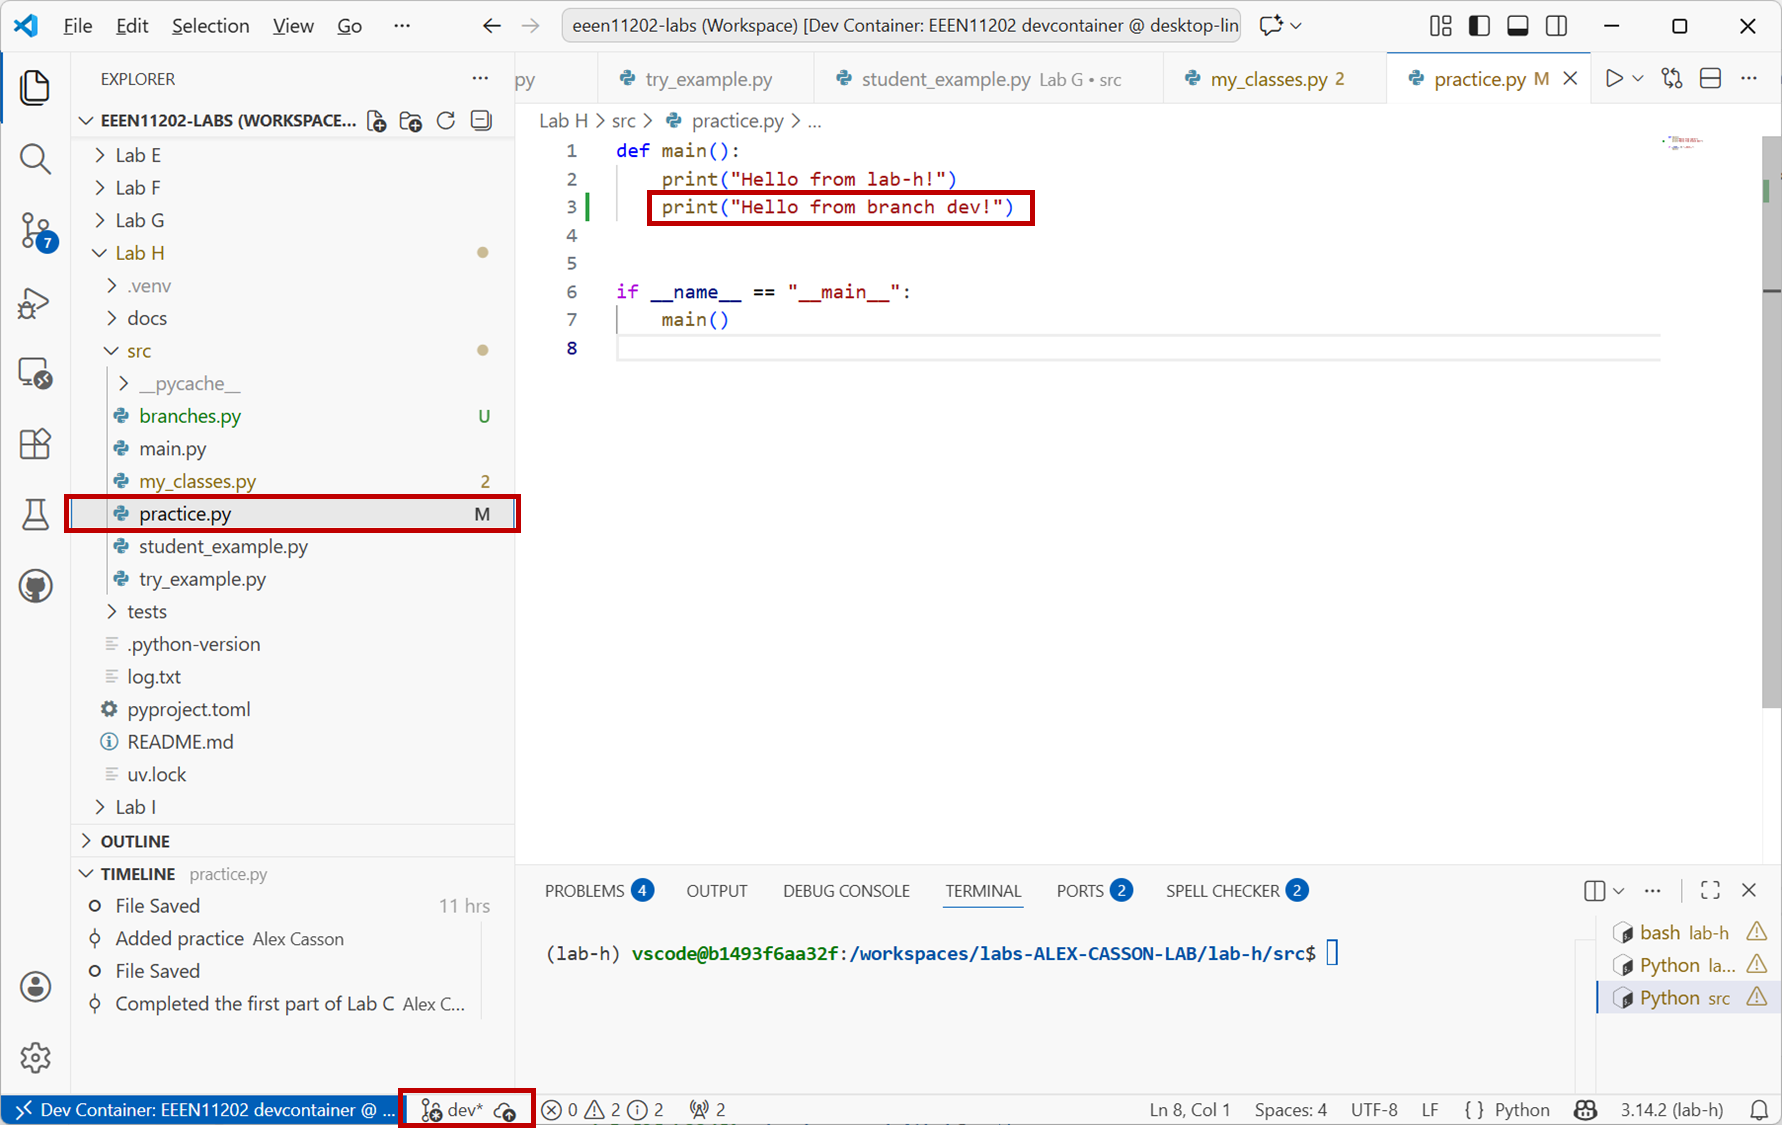
devbranch, and then add some additional code to this file. For example, change the message that is displayed to the screen. You could make it:def main(): print("Hello from lab-h!") print("Hello from branch dev!") if __name__ == "__main__": main()
Check your changes in to Git. (Follow the instructions above if you’re not sure how to do this.)
Switch back to the main branch (again following the instructions above) and you should see that the same file in the two different branches contains different code. The figure below show the same file in the two different branches.
Screenshot of VSCode, software from Microsoft. See course copyright statement.
Screenshot of VSCode, software from Microsoft. See course copyright statement.
5.3.2.3. Merging branches
When you’re ready, you can merge branches together to combine the code.
Make sure you are in branch
main. Then, on theSource Controltab, click on the three dots...at the top right to open the menu. SelectBranch / Merge ....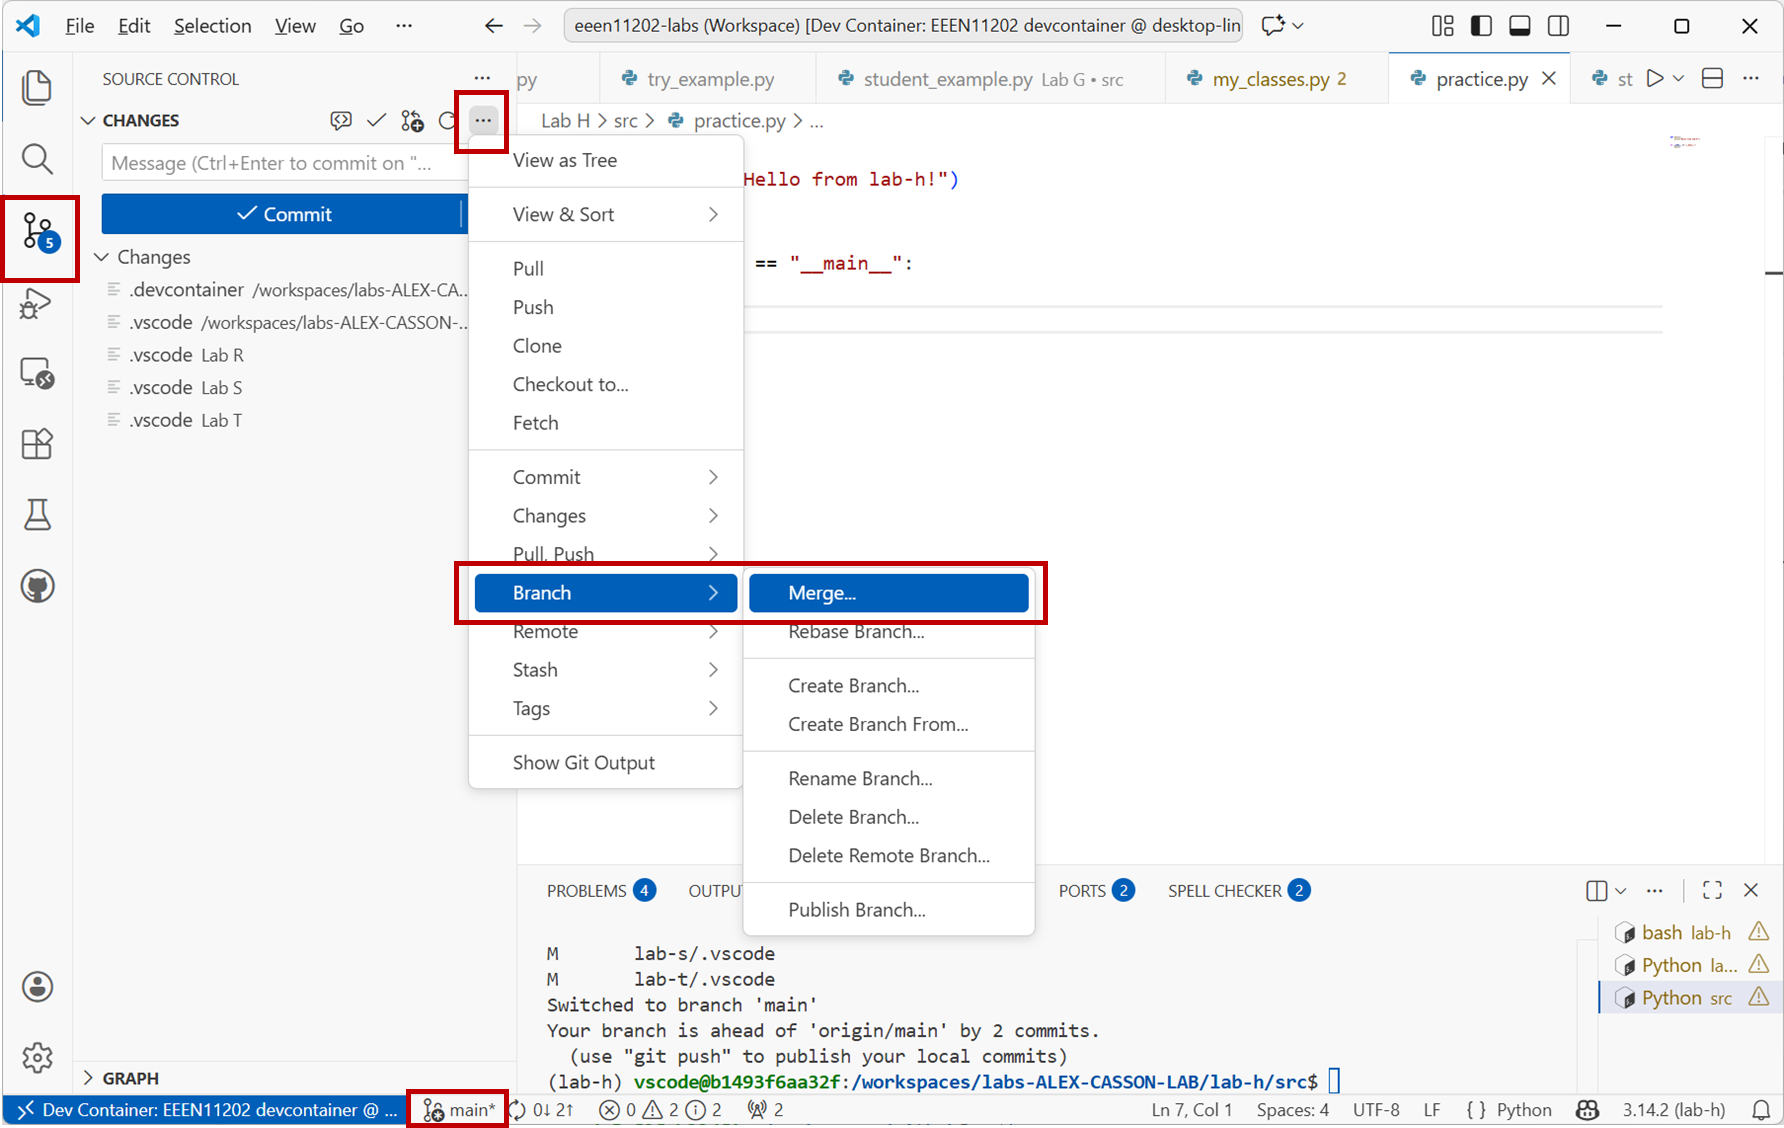
Screenshot of VSCode, software from Microsoft. See course copyright statement.
Select the branch that you want to merge into
main. We only have one other branch,dev, in our example.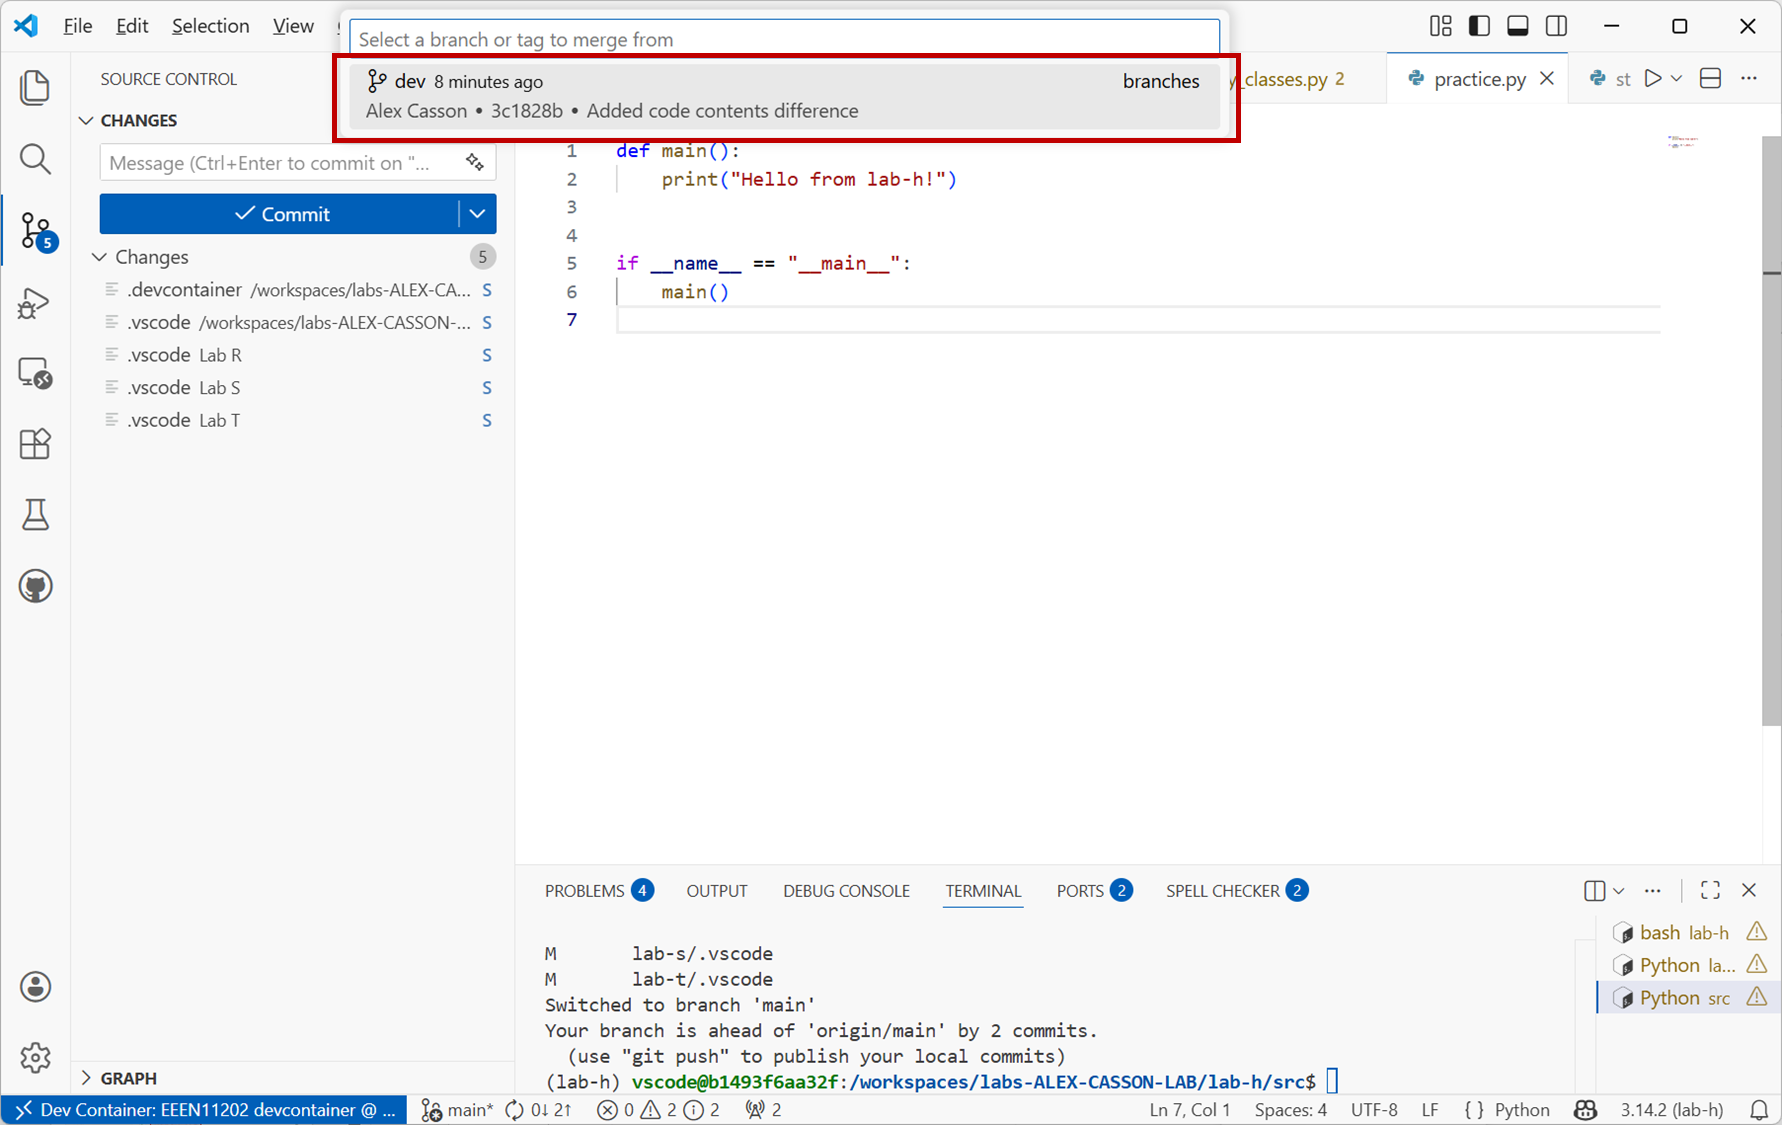
Screenshot of VSCode, software from Microsoft. See course copyright statement.
git checkout main
git merge dev
This merges the changes from branch
devinto branchmain.You should see that the code in the
mainbranch has now been updated to include the changes you made in thedevbranch.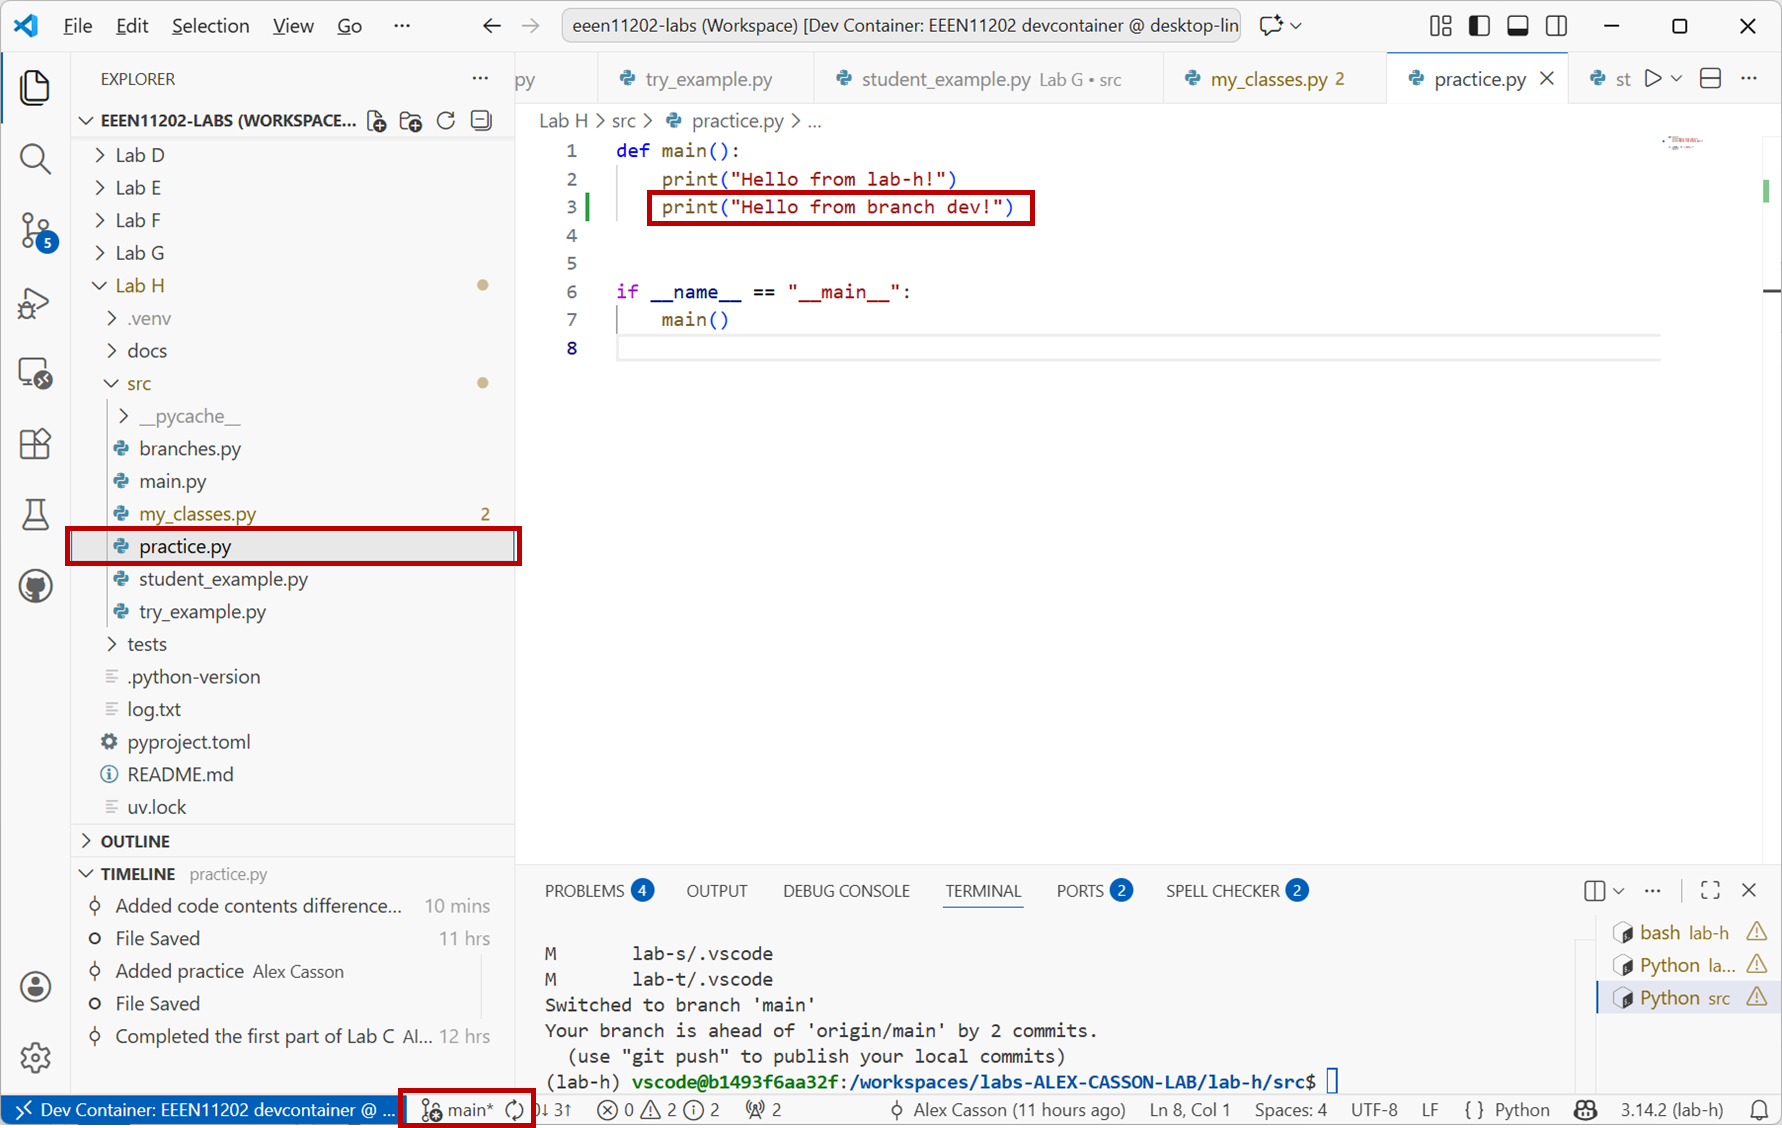
Screenshot of VSCode, software from Microsoft. See course copyright statement.
The above was a nice simple example, we only changed a small bit of code.
When making larger changes you can have conflicts when you try to merge branches. These occur if the same code has been edited in two different ways in the two branches. Git won’t automatically know which version to keep and so you have to resolve conflicts manually. We won’t cover resolving conflicts here, but as you move on to more advanced version control this might be something you want to look in to.